**Prerequisites:**
- Knowing something about javascript or AngularJS, and just for your info here is the master guide for AngularJS(https://github.com/johnpapa/angular-styleguide)
- Having programming logic
- Knowing some HTML
- Preferable to use the generator "Yeoman"
- Management bower and npm among others
Once you specify this, we are ready to start our little journey through this article.
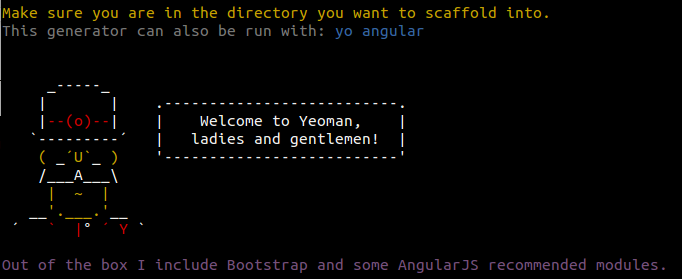
**Install yeoman in our environment:**
For this example I am using the Linux distribution, Ubuntu 14.04 LTS, which I consider to be very good if you're a web developer, however, you are free to use any operating system of your choice, but this example is made especially for those who use Ubuntu 14.04 LTS. before installing the generator Yeoman, you also need to install on your working folder, certain management tools. use the following command, first we verify if we in our working folder installed the package manager npm
node --version && npm --version
if the version of node and npm seems very outdated we can take it to the latest version available: npm install --global npm@latest
Once ready, proceed to install the generator yeoman
npm install --global yo bower grunt-cli
**note:** if you show errors when trying to install, it would be preferable to use a superuser. to verify that our yeoman generator installation was successful, execute the following command:
yo --version && bower --version && grunt --version
If gives us the version of yeoman generator, manager and grunt bower Automator, then we have successfully completed the installation of our tools.
**AngularJS installing the generator in Yeoman** Now we will install in the environment Yeoman, AngularJS generator, for that use this command::
npm install --global generator-angular@0.11.1 generator-karma
How to know if the generator was installed AngularJS? simple, one must write:
yo
this leads us to a table of options where we can choose between different functionalities

once written this command, yeoman ask us what we want to do?, literally. We will choose the Angular option
Now, you ask us if we want to add additional functionality, for this example we add all available options.
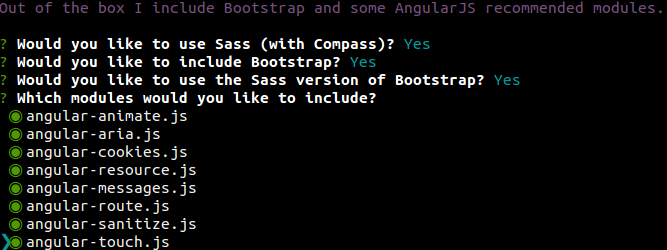
note: these processes can take some time, I suggest some patience.
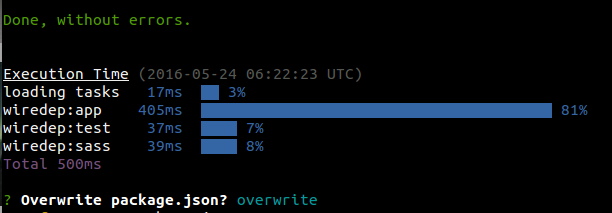
being in this part of the installation, we asked if you want to overwrite the package.json, where we should say yes.
Already done this, we have an application ready to start working. In our project structure, we should see a series of folders as follows: 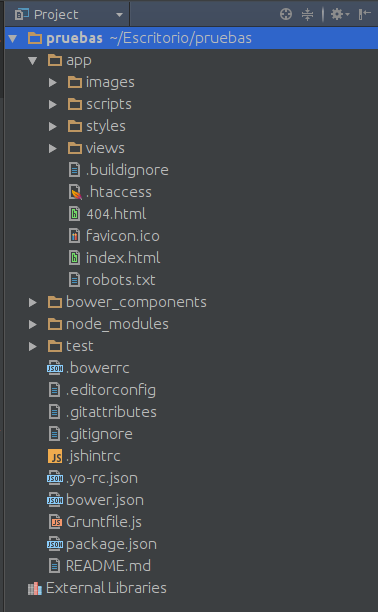
which means that we have created a project in AngularJS, ready to work. How to check that it is working our project? on the command line, being located in the working folder, run the command:
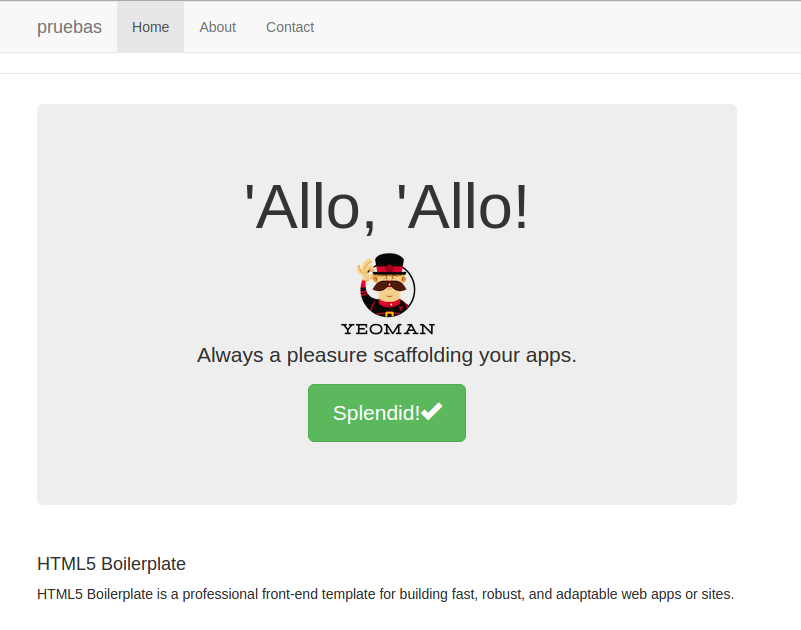
grunt serve
if everything was correctly installed, a screen appears like this
**Taking advantage of libraries available for AngularJS maps:** One of the advantages of using AngularJS is that there are many libraries to implement any functionality we need in our project, and the use of interactive maps is no exception to this case we use the library ngMap (http://ngmap.github.io/)
Which in my opinion, I have been very useful, easy to handle, good documentation and is not required to be as expert to implement our project. Further, since we are using Yeoman use one of the characteristics of yeoman, the ability to install packages bower, and you wonder what is it ?, for those who read for the first time the term "bower" is a dependency manager for the frontend web development, making it easy to install libraries and frameworks to our project (for more information visit http://bower.io/)
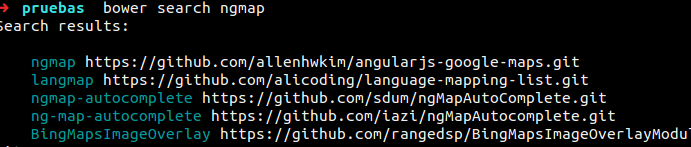
now we dedicated to install the package php through bower, if you're not quite sure how I look you can run the following command:
bower search "nombre_del_paquete"
in our case would be: bower search ngmap
in the list of possible options, this would be the package to look for: ngmap https://github.com/allenhwkim/angularjs-google-maps.git
to install it type the following command: bower install ngmap --save
the prefix --save automatically put us in the index.html's call javascript containing ngmap, this would save us from having to manually install it, since forgetting instantiate could give us a headache if such an error is detected.
Not to put the "--save" would have to go to the index.html file found in our structure of our project and instantiate the downloaded package using the following line of code
already done this we will see if it works our nmap package. An important point that we must always remember to install a package either by bower, npm or manually, is to add it to the main controller of our application for this we will go to the main file, its path would be as follows
nombre_del_proyecto/public/js/app.js

once the "gMap" prefix in the app.js file is added, we are ready to work with any functionality offered by the library ngMap in our application.
**Ng-map using our application**
now let's proceed to use the library gMap directly, for that we go to the following path:
“nombre del proyecto/app/index.html”
being in this document, we can edit it to our taste, in my case, first erase all content, so

Now add a few lines to enable a simple map, we headed to the next route
nombre del proyecto/app/views/main.html
Now edit the file as follows 
where center, are the coordinates where you want the map starts, zoom is the amount that will have enlarged the map to start with, and default style is a Boolean data asking us if we have the style preset map.
and the driver file is re write as follows, following the route. nombre del proyecto/app/scripts/controller/main.js
and modify the file, just as I present in this example 
finally we get a screen like this: 
I hope you liked this tutorial, hoping it will be very helpful to them and they can also see how useful they are free technologies, will be until the next, greetings.